This article explains how to set up the SharePoint App Connector from the Admin Center in Templafy, as well as the steps required to deploy the Templafy app by an IT administrator on the SharePoint Admin portal.
Prerequisites
-
Admin/owner access to the Templafy tenant.
- Admin access to SharePoint tenant.
- Library and App Connectors modules enabled.
|
Important
- Requires new layout of SharePoint
- Customer SharePoint must be on a SharePoint Framework (SPFx) 1.11 and above.
|
About the SharePoint App Connector
The SharePoint App Connector allows access to correct and relevant business document templates directly from any SharePoint site. It also allows for saving back the complete documents, presentations, and spreadsheets to the same SharePoint access type with the correct metadata information.
Templafy's SharePoint App Connector is built using the SharePoint Framework. It uses the current context of the signed in user, meaning no additional app permissions are needed when working with the SharePoint App Connector.
How to enable SharePoint in Templafy using an App Connector
- In the Admin Center, access Integrations section.
- Go in Available tab.
- Find/Search for SharePoint.
- Click +.
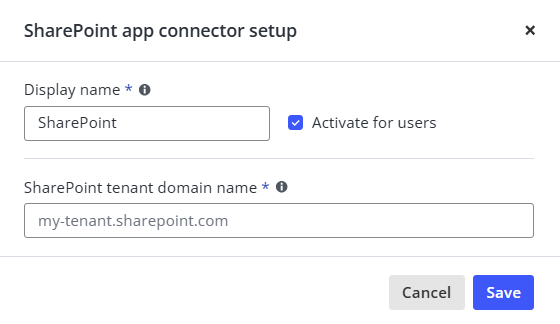
- Enter the required information:
- Display Name of the app in Templafy.
- Full domain name of the SharePoint Tenant without "https".
Set up and deployment of the Templafy app in the SharePoint Admin center
Note
- Be aware that the screenshots of the Microsoft SharePoint Admin center used in this article might differ if Microsoft changes the UI.
- Remember to change the SharePoint settings if you want the document to be opened in the desktop version of Office or in the Online version. In other words, enable Microsoft Word documents, Excel Spread sheets, and PowerPoint Presentations to open in client applications like Microsoft Word, Excel, and PowerPoint instead of opening them in the browser directly. Here is the guide: Open Documents in Client Application by Default - Microsoft Tech Community.
|
- Create an App catalog if your organization doesn't have one already. The app catalog is a site that is used to store the SharePoint and Office apps for your organization's internal use.
- Follow this official Microsoft guide for creating the app catalog: Distribute business apps using the App Catalog - SharePoint - SharePoint in Microsoft 365 | Microsoft Docs.
Deploying the Templafy app to all SharePoint sites in the organization at once
Note
- This method will make Templafy available to all SharePoint sites in the organization. Thus, the app will be deployed automatically to all sites.
- By deploying the app to all sites at once, the default path from where Templafy will begin the document creation workflow will be the same for every site. If you want a different path within the Templafy library to be the starting point when opening Templafy in different sites, do not enable the Templafy to all sites. For instance, if you want "Site A" to open the Templafy Documents library and "Site B" the Presentations library, please follow the guidelines for individual deployment in each site is at the end of this article.
|
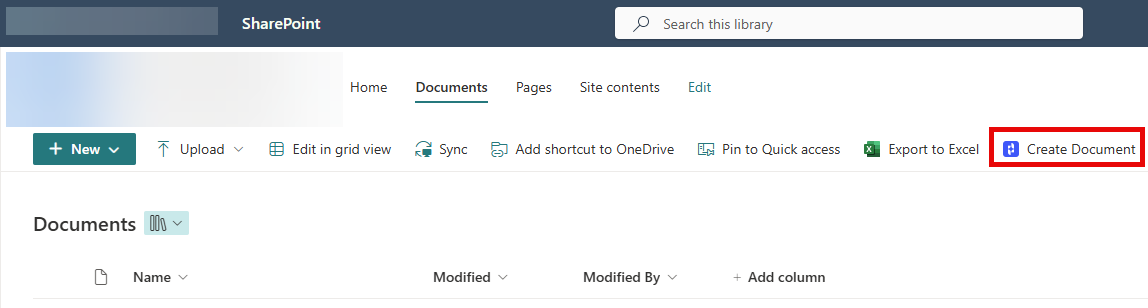
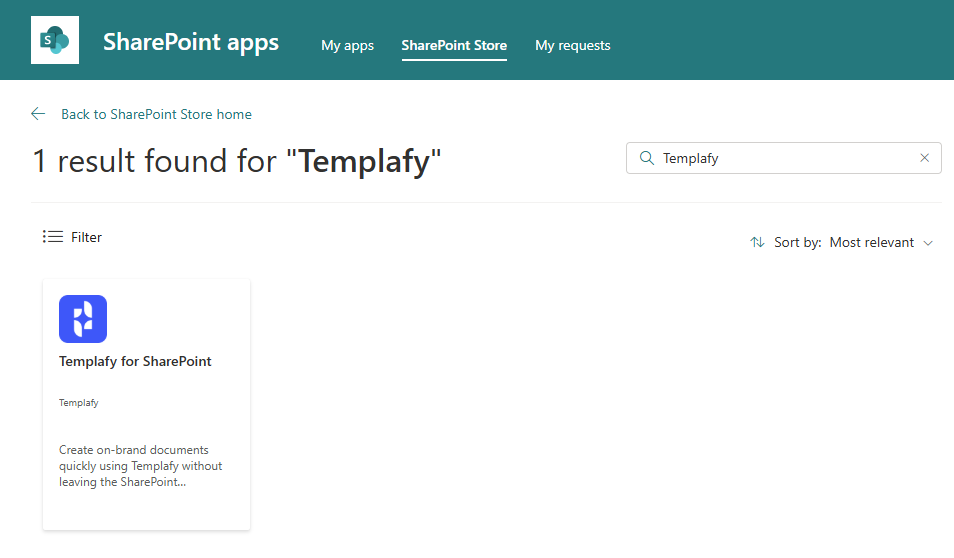
- In the SharePoint App Store, search for "Templafy for SharePoint".

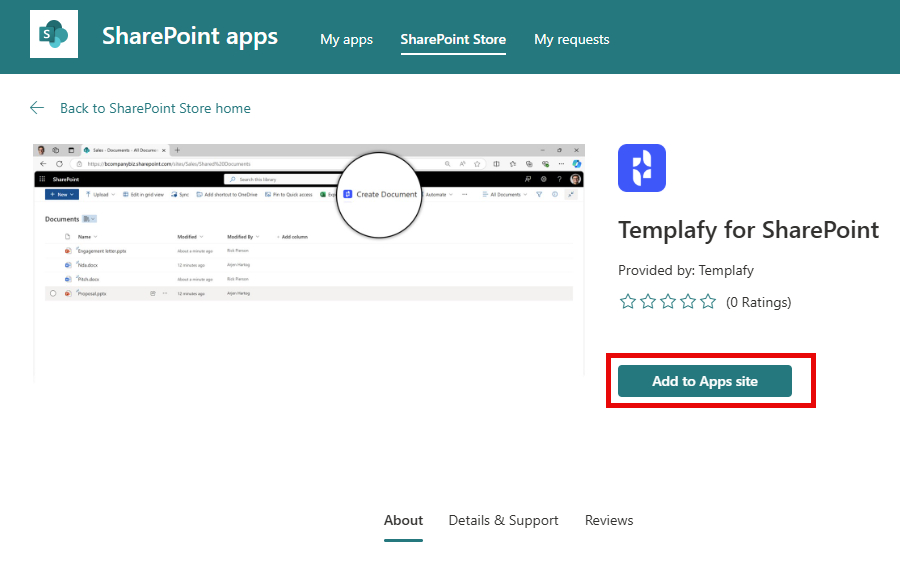
- Click on Add to Apps site.

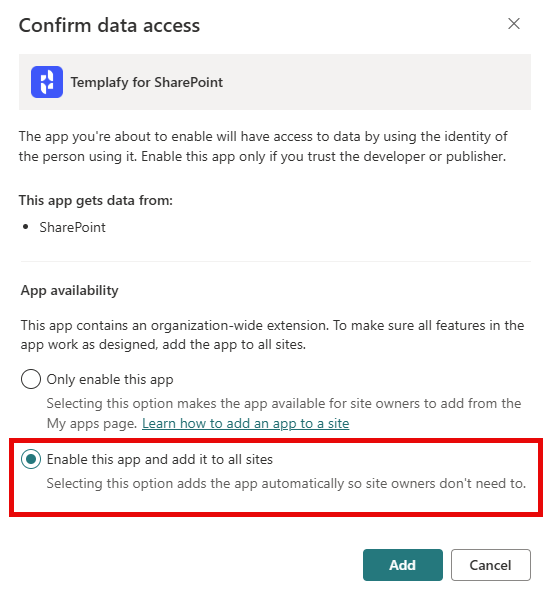
- Select the option to Enable this app and add it to all sites.
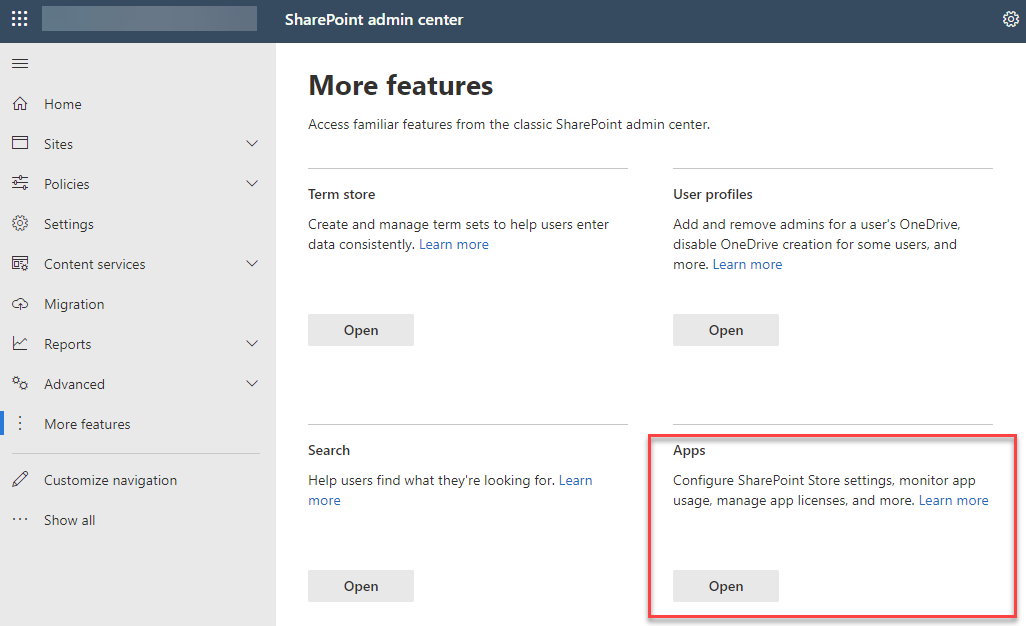
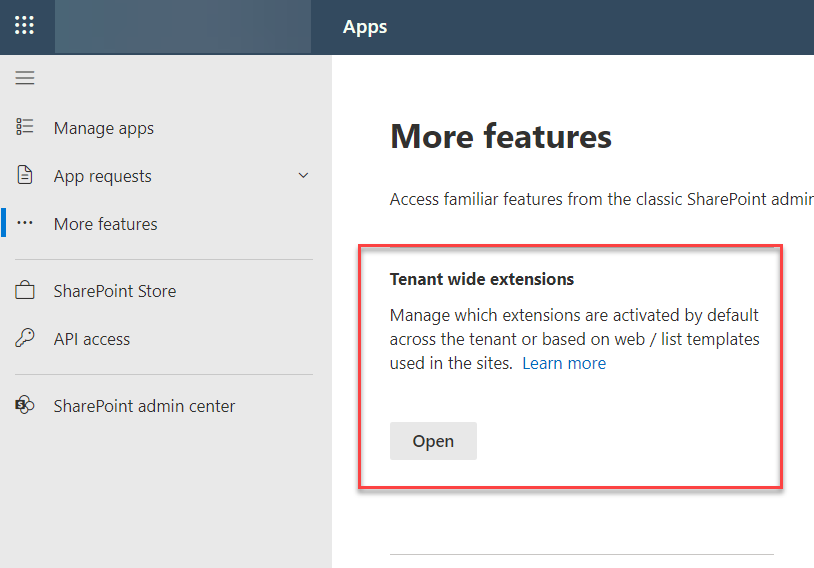
- Go to the SharePoint admin center, and select the More Features option in the left menu.
- Under Apps, click on Open.
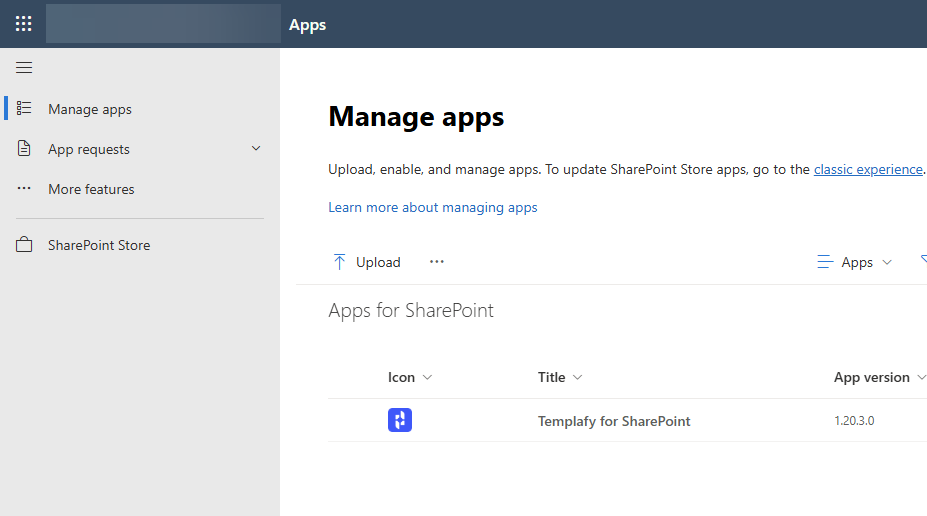
- Confirm that the Templafy for SharePoint app is now available in the App Catalog.
- Navigate to tenant wide extensions (More features > Tenant wide extensions).
- Select TemplafyCreateDocument, Click on Items, and then click Edit Item.
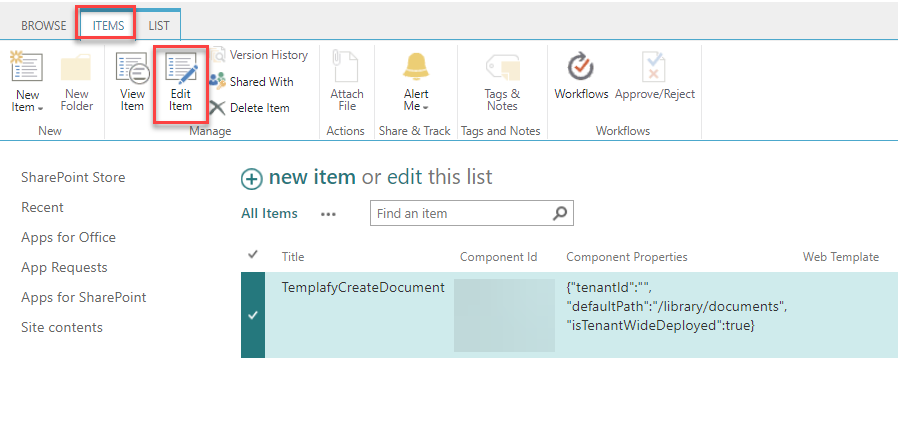
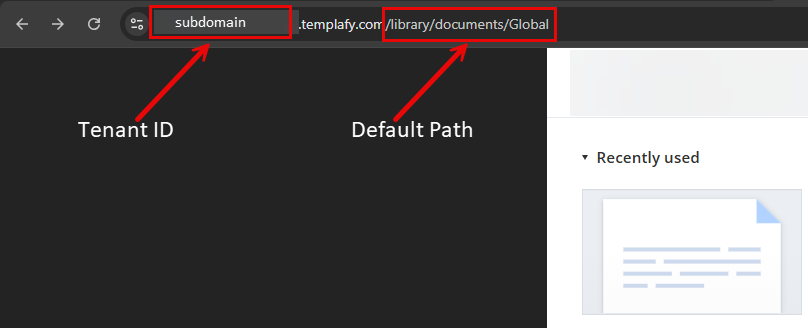
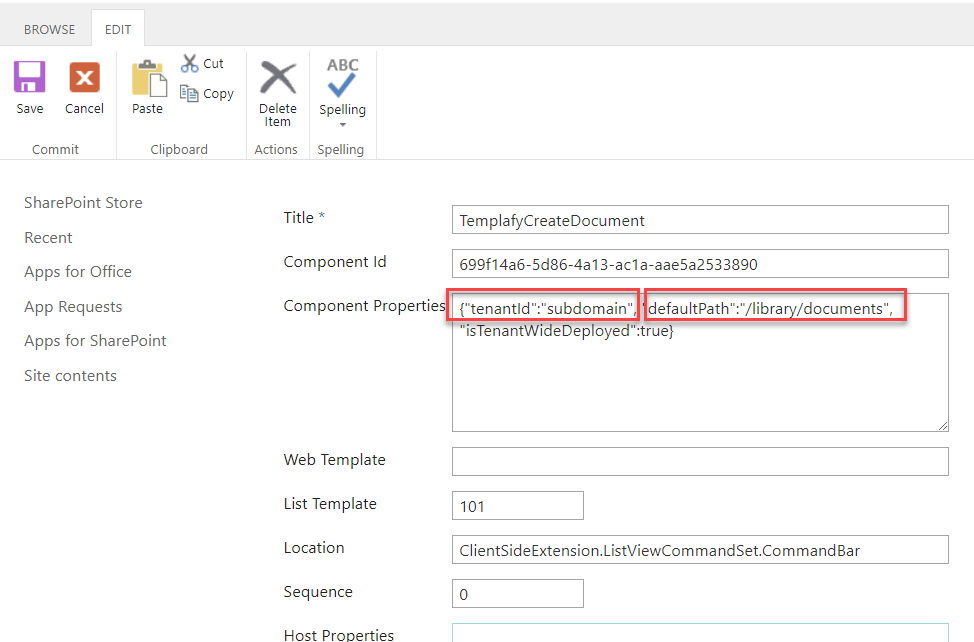
- Specify the Templafy tenant ID and the Templafy library default path in the Component Properties field. The tenant id and the path can be found in the URL. Save your changes.
- The Templafy for SharePoint App should now be visible on all sites.
Deploying the Templafy for SharePoint App individually across SharePoint sites in the organization
Note
- This method will help you enable individually Templafy in specific SharePoint sites in the organization. Thus, the app will NOT be deployed automatically to all sites.
- By deploying the app individually in one site at a time, the default path from where Templafy will begin the document creation workflow will have to be configured for every site.
|
- In the SharePoint App Store, search for "Templafy for SharePoint".
- Click on Add to Apps site.
- Select the option to Only enable this app.

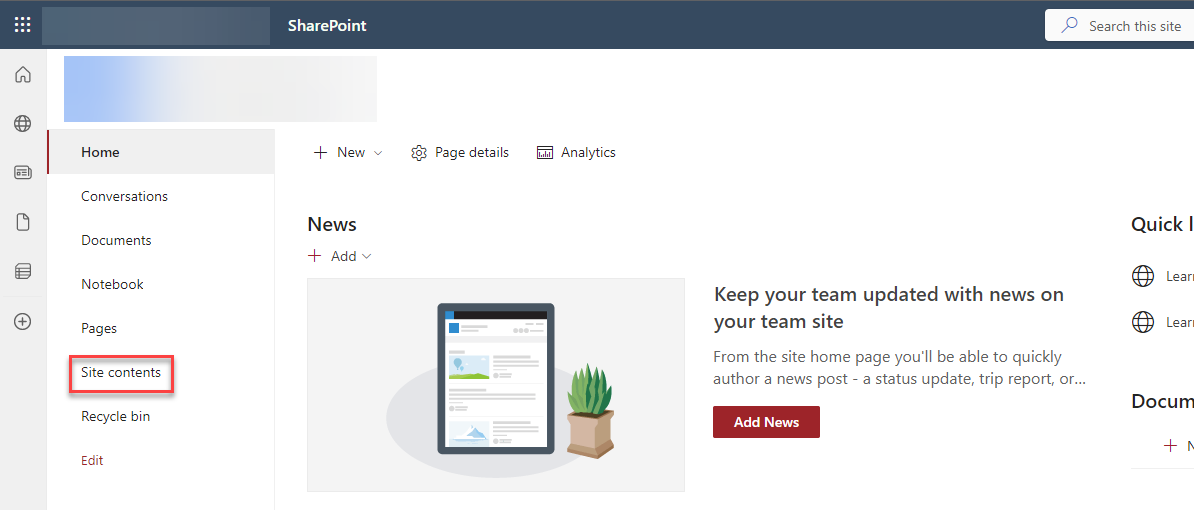
- The app will now be available to be added manually on every site. Navigate to one of the SharePoint Sites where you'd like to add Templafy.
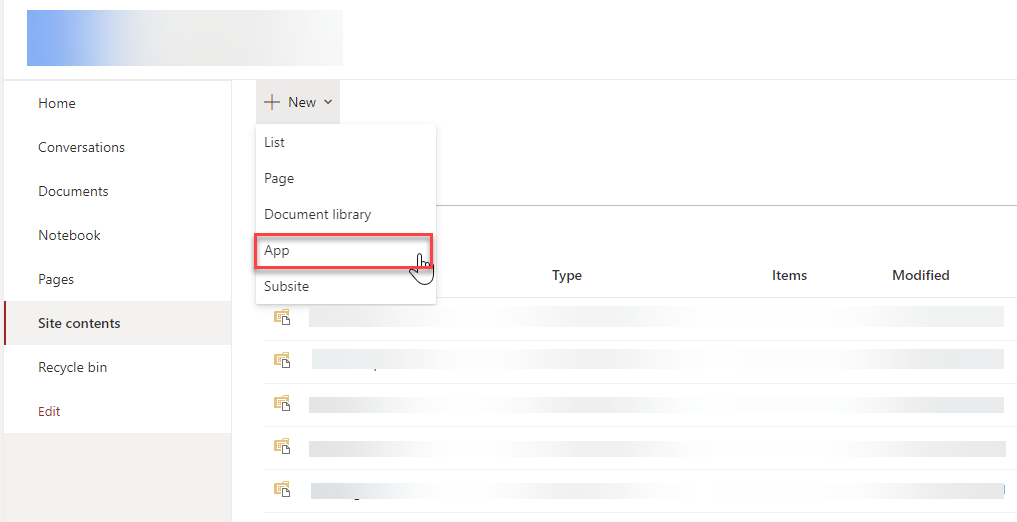
- Click Site Contents.
- Click on New and select App from the dropdown.
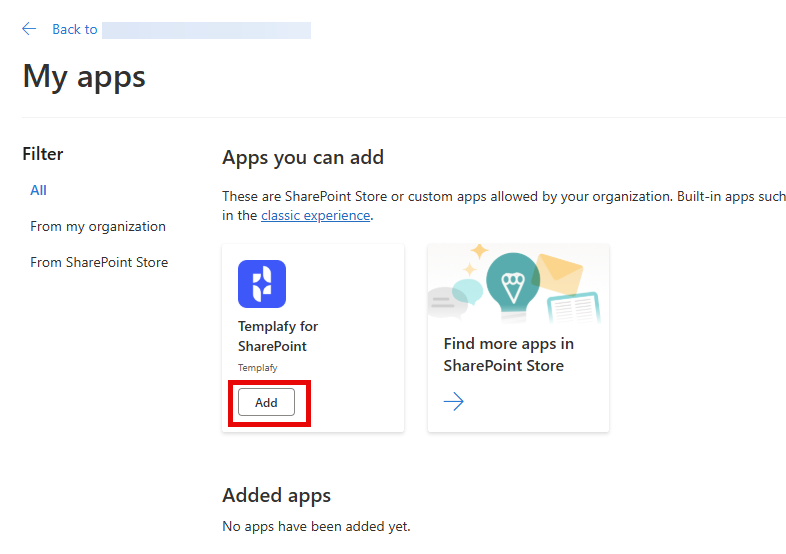
- In the My apps page, find Templafy for SharePoint, and click on Add.
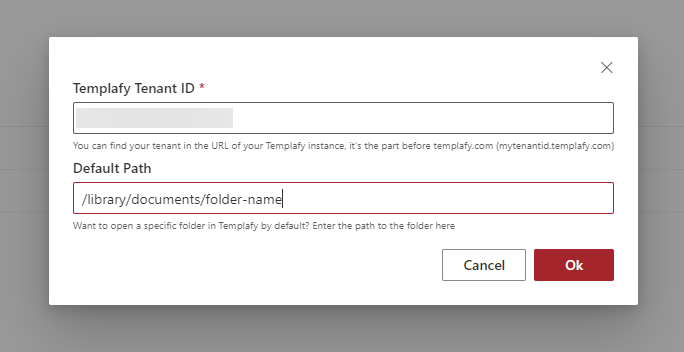
- The app should now be available on the site, and you will need to configure the tenant id and the default library path.

Note
- The Templafy Tenant ID can be found inside the tenant URL and corresponds to the part displayed before .templafy.com. For example, in mytenantid.templafy.com, the Templafy Tenant ID is mytenantid.
- The Default Path should be pointing to one of the template libraries (library/documents, library/presentations, library/spreadsheets), or to a specific folder within the template libraries (e.g., library/documents/security).
|
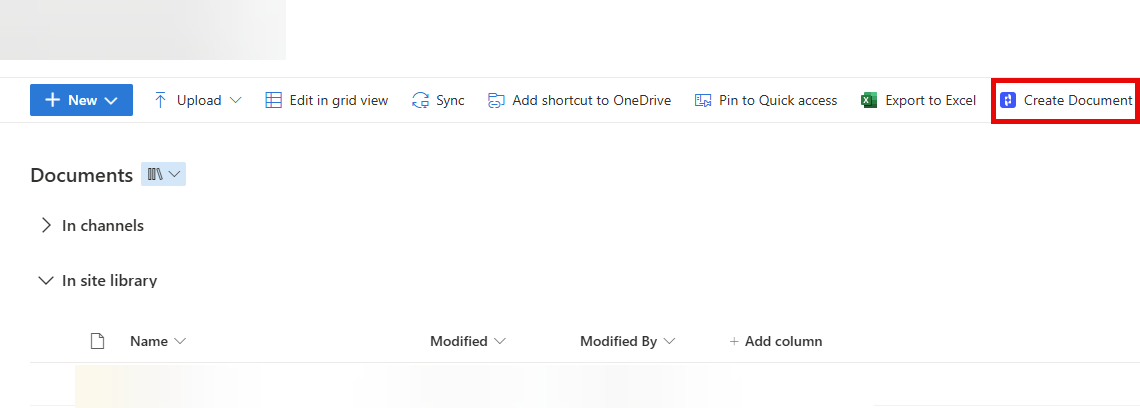
- The app should now be visible on this specific site.
- Do the same for the rest of the sites. Remember to change the path if you want different Templafy folder paths to be opened on each site.
Comments
Article is closed for comments.